

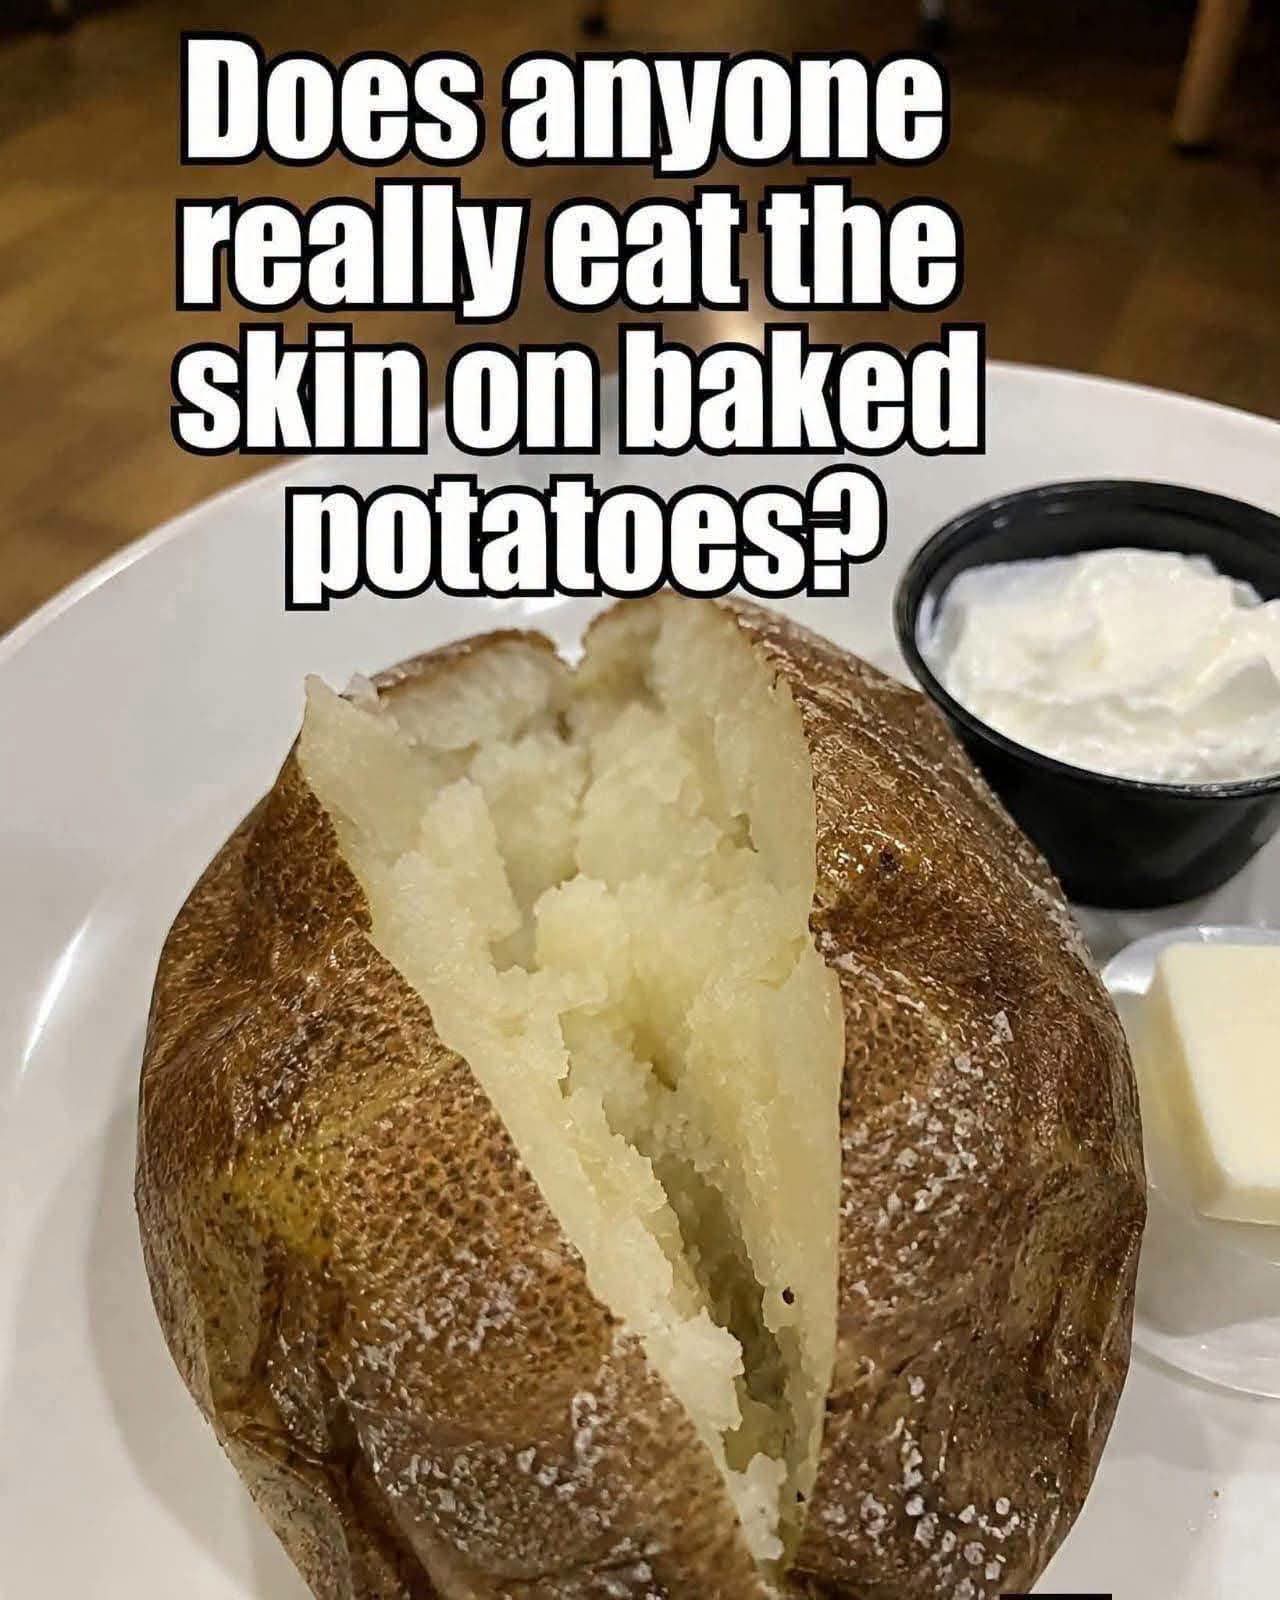
A perfectly baked potato is one of the simplest yet most satisfying comfort foods you can make. With its crispy, seasoned skin and soft, fluffy interior, it serves as an excellent side dish or even a complete meal when topped with your favorite ingredients. One question often sparks debate among potato lovers: Do people actually eat the skin? The answer is yes! In fact, many people consider the crispy skin the best part because it is packed with flavor, texture, fiber, and nutrients.
This guide will show you how to make restaurant-quality baked potatoes with crispy edible skins and tender interiors every time.
Why You’ll Love This Recipe
Crispy, flavorful skin
Light and fluffy potato inside
Easy preparation
Budget-friendly
Naturally gluten-free
Perfect for endless toppings
Great as a side dish or main course
Ingredients
Makes 4 servings
4 large russet potatoes
2 tablespoons olive oil
2 teaspoons coarse kosher salt
1 teaspoon black pepper
4 tablespoons butter
1 cup sour cream
Chopped chives
Shredded cheddar cheese
Crumbled bacon (optional)
Why Russet Potatoes Work Best
Russet potatoes contain a high amount of starch and relatively low moisture. During baking, the starch becomes fluffy while the skin crisps beautifully.
Other potatoes like Yukon Gold produce a creamier texture but won’t develop the same crispy shell.
Should You Eat the Skin?
Absolutely.
Potato skin contains:
Fiber
Potassium
Iron
Vitamin C
Antioxidants
B vitamins
When baked until crisp and seasoned well, the skin becomes delicious instead of chewy.
Just be sure to wash the potatoes thoroughly before cooking.
Step 1: Wash the Potatoes
Scrub each potato under cold running water.
Use a vegetable brush to remove:
Dirt
Sand
Surface residue
Dry completely using paper towels.
Dry skin equals crispy skin.
Step 2: Pierce with a Fork
Use a fork to poke each potato 6–8 times.
This allows steam to escape while baking.
Skipping this step may cause potatoes to burst in the oven.
Step 3: Coat with Oil
Rub every potato with olive oil.
The oil helps create:
Golden color
Crisp texture
Rich flavor
Step 4: Season Generously
Sprinkle kosher salt over every surface.
Add black pepper if desired.
The salt creates a lightly crunchy crust that tastes amazing.
Step 5: Bake
Preheat oven to:
425°F (220°C)
Place potatoes directly on the oven rack.
Bake:
45–60 minutes
Cooking time depends on potato size.
They’re done when:
Skin feels crisp
Knife slides in easily
Interior is soft
How to Tell They’re Finished
A perfectly baked potato should have:
Crispy brown skin
Soft fluffy center
Light weight from moisture loss
Slightly wrinkled appearance
Step 6: Open the Potato
Using a knife:
Cut a slit lengthwise.
Gently squeeze both ends.
The fluffy interior should pop open.
Fluff with a fork.
Add Butter First
While still hot:
Add butter immediately.
The butter melts into every bite.
Classic Toppings
Some favorites include:
Sour cream
Chives
Bacon bits
Cheddar cheese
Green onions
Fresh parsley
Delicious Loaded Potato
For a restaurant-style loaded baked potato, add:
Butter
Sour cream
Cheddar cheese
Crispy bacon
Green onions
Black pepper
Healthy Topping Ideas
Instead of heavy toppings, try:
Greek yogurt
Cottage cheese
Salsa
Steamed broccoli
Avocado
Fresh herbs
Grilled chicken
Make It a Meal
Turn your baked potato into dinner by adding:
Chili
Pulled pork
BBQ chicken
Taco meat
Shrimp
Beef stew
Roasted vegetables
Why Salt on the Skin?
Salt:
Draws moisture out
Creates crispiness
Adds flavor
Improves texture
Restaurant potatoes almost always use salted skins.
Best Butter
Choose real butter instead of margarine.
Salted or unsalted both work well.
Garlic herb butter is another delicious option.
Cheese Choices
Excellent cheeses include:
Sharp cheddar
Monterey Jack
Mozzarella
Pepper Jack
Parmesan
Gruyère
Add Herbs
Fresh herbs elevate the flavor.
Great options:
Chives
Parsley
Dill
Thyme
Rosemary
Protein Ideas
Serve alongside:
Steak
Roast chicken
Salmon
Pork chops
BBQ ribs
Meatloaf
Storage
Store leftovers in an airtight container.
Refrigerate for up to:
4 days
Reheating
Oven:
350°F (175°C)
Bake for 15–20 minutes.
Air Fryer:
375°F
Heat for 5–8 minutes.
Microwave:
2–3 minutes.
The oven or air fryer keeps the skin crispy.
Can You Freeze Them?
Yes.
Wrap individually in foil.
Store inside freezer bags.
Freeze for up to 3 months.
Thaw overnight before reheating.
Common Mistakes
Avoid these errors:
Wrapping potatoes in foil
Under-seasoning
Skipping the oil
Using wet potatoes
Baking at too low a temperature
Overcooking
Variations
Garlic Parmesan
Mix butter with garlic and Parmesan.
Tex-Mex
Top with:
Salsa
Black beans
Cheese
Jalapeños
Sour cream
Broccoli Cheddar
Add steamed broccoli and melted cheddar.
Buffalo Chicken
Fill with shredded buffalo chicken and blue cheese dressing.
Mediterranean
Top with:
Feta
Tomatoes
Cucumbers
Olives
Greek yogurt
Nutrition (Approximate Per Potato)
Without toppings:
Calories: 280
Protein: 7 g
Carbohydrates: 63 g
Fat: 3 g
Fiber: 6 g
Potassium: 900 mg
Frequently Asked Questions
Can I eat the skin?
Yes. It’s nutritious, flavorful, and delicious when baked until crisp.
Why is my skin soft?
Usually because:
The potato wasn’t dry.
No oil was used.
It was wrapped in foil.
Can I microwave first?
Yes. Microwave for 5–7 minutes, then finish in a hot oven for 15–20 minutes to crisp the skin.
Which potato is best?
Large russet potatoes consistently produce the fluffiest interior and crispiest skin.
Final Thoughts
A perfectly baked potato proves that simple ingredients can create extraordinary results. By choosing russet potatoes, seasoning the skin generously with oil and salt, and baking them at a high temperature, you’ll achieve a crisp, flavorful exterior and a light, fluffy center every time. Whether you enjoy it with classic butter and sour cream or pile on hearty toppings like cheese, bacon, chili, or vegetables, this timeless dish is endlessly versatile and always satisfying. And yes—the crispy skin is not only edible but often the most flavorful part of the entire potato.