
While an exact recipe for “No-Bake Cherry Cheesecake Cookies” is hard to come by, the search results are full of inspiration for no-bake cherry cheesecake desserts that can easily be adapted into a cookie or bite-sized form. I’ve taken the best elements from these recipes to create a custom recipe just for you.
This recipe combines a buttery cookie crust, a creamy no-bake cheesecake filling, and a sweet cherry topping, all formed into a perfect, poppable treat .
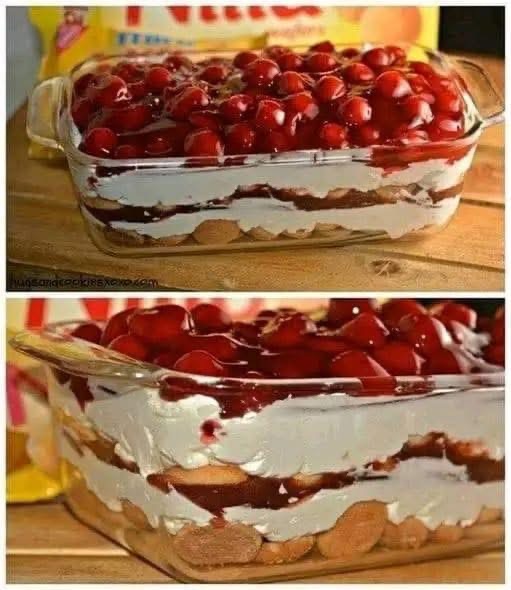
🍒 No-Bake Cherry Cheesecake Cookies
These little bites have everything you love about a classic cherry cheesecake, in a convenient, no-fuss cookie form.
📝 Ingredients
Here’s what you’ll need to make about 18-20 cookies.
Ingredient Quantity Notes
For the Crust:
Golden Oreos or Shortbread Cookies 15-18 cookies You’ll need fine crumbs. Vanilla wafers also work great .
Unsalted Butter 3 tbsp, melted Helps bind the crust.
For the Filling:
Cream Cheese 4 oz, softened The classic base for a tangy cheesecake flavor .
Powdered Sugar 1/4 cup For sweetness without grittiness .
Whipped Topping (like Cool Whip) 1/2 cup, thawed Keeps the filling light and no-bake .
Vanilla Extract 1/2 tsp For flavor.
For the Topping:
Cherry Pie Filling About 1/2 cup The easiest option for a classic taste .
🔪 Step-by-Step Instructions
- Make the Crust: In a food processor or a sealed zip-top bag, crush the cookies into fine crumbs. Transfer the crumbs to a small bowl and pour in the melted butter. Mix with a fork until everything is moistened .
- Form the Cookie Base: Line a baking sheet with parchment paper. Portion the crust mixture into the sheet, pressing about 1 tablespoon of it firmly into a small, round disc for each cookie. You can use the back of a measuring spoon to really compact it. Place the baking sheet in the refrigerator to chill while you make the filling .
- Make the Cheesecake Filling: In a medium bowl, beat the softened cream cheese with an electric mixer (or a sturdy spoon) until it’s smooth and creamy . Add the powdered sugar and vanilla, and mix well until combined. Gently fold in the whipped topping with a spatula until the mixture is uniform and fluffy .
- Assemble the Cookies: Remove the chilled cookie bases from the fridge. You can either spoon the cheesecake filling into a piping bag for a neat look, or simply use a small spoon. Top each cookie base with a dollop of the cheesecake filling.
- Add the Cherry Topping: Place one or two cherries from the cherry pie filling on top of the cheesecake layer. If you’d like a little extra cherry flavor, you can drizzle a tiny amount of the pie filling gel over the top as well .
- Chill to Set: Return the assembled cookies to the refrigerator and let them chill for at least 2 hours. This allows the filling to firm up so the cookies hold their shape perfectly .
💡 Tips for Cookie Success
· Make it Mini: For an even cuter presentation, you can press the crust mixture into the bottom of mini muffin liners placed in a mini muffin tin. This creates a perfect little cup for the filling .
· Get Creative with Toppings: While cherry pie filling is classic, you can easily switch it up. Try a dollop of raspberry jam, fresh strawberry slices, or a blueberry compote .
· Crust Variations: Feel free to experiment with the crust. Chocolate Oreos (with the filling removed) would be a delicious option for a chocolate-cherry combination .
· Storage: Keep these cookies stored in an airtight container in the refrigerator. They will stay fresh and delicious for up to 3-4 days .
Enjoy your delightful, no-bake treat! Let me know if you’d like any other variations.