
This Old-Fashioned Vanilla Baked Custard is the epitome of comfort food—silky, creamy, and lightly sweetened, with a soft skin forming on top. It’s a simple, timeless dessert that feels like a warm hug.
Here is a classic recipe that is easy to make with just a few staple ingredients.
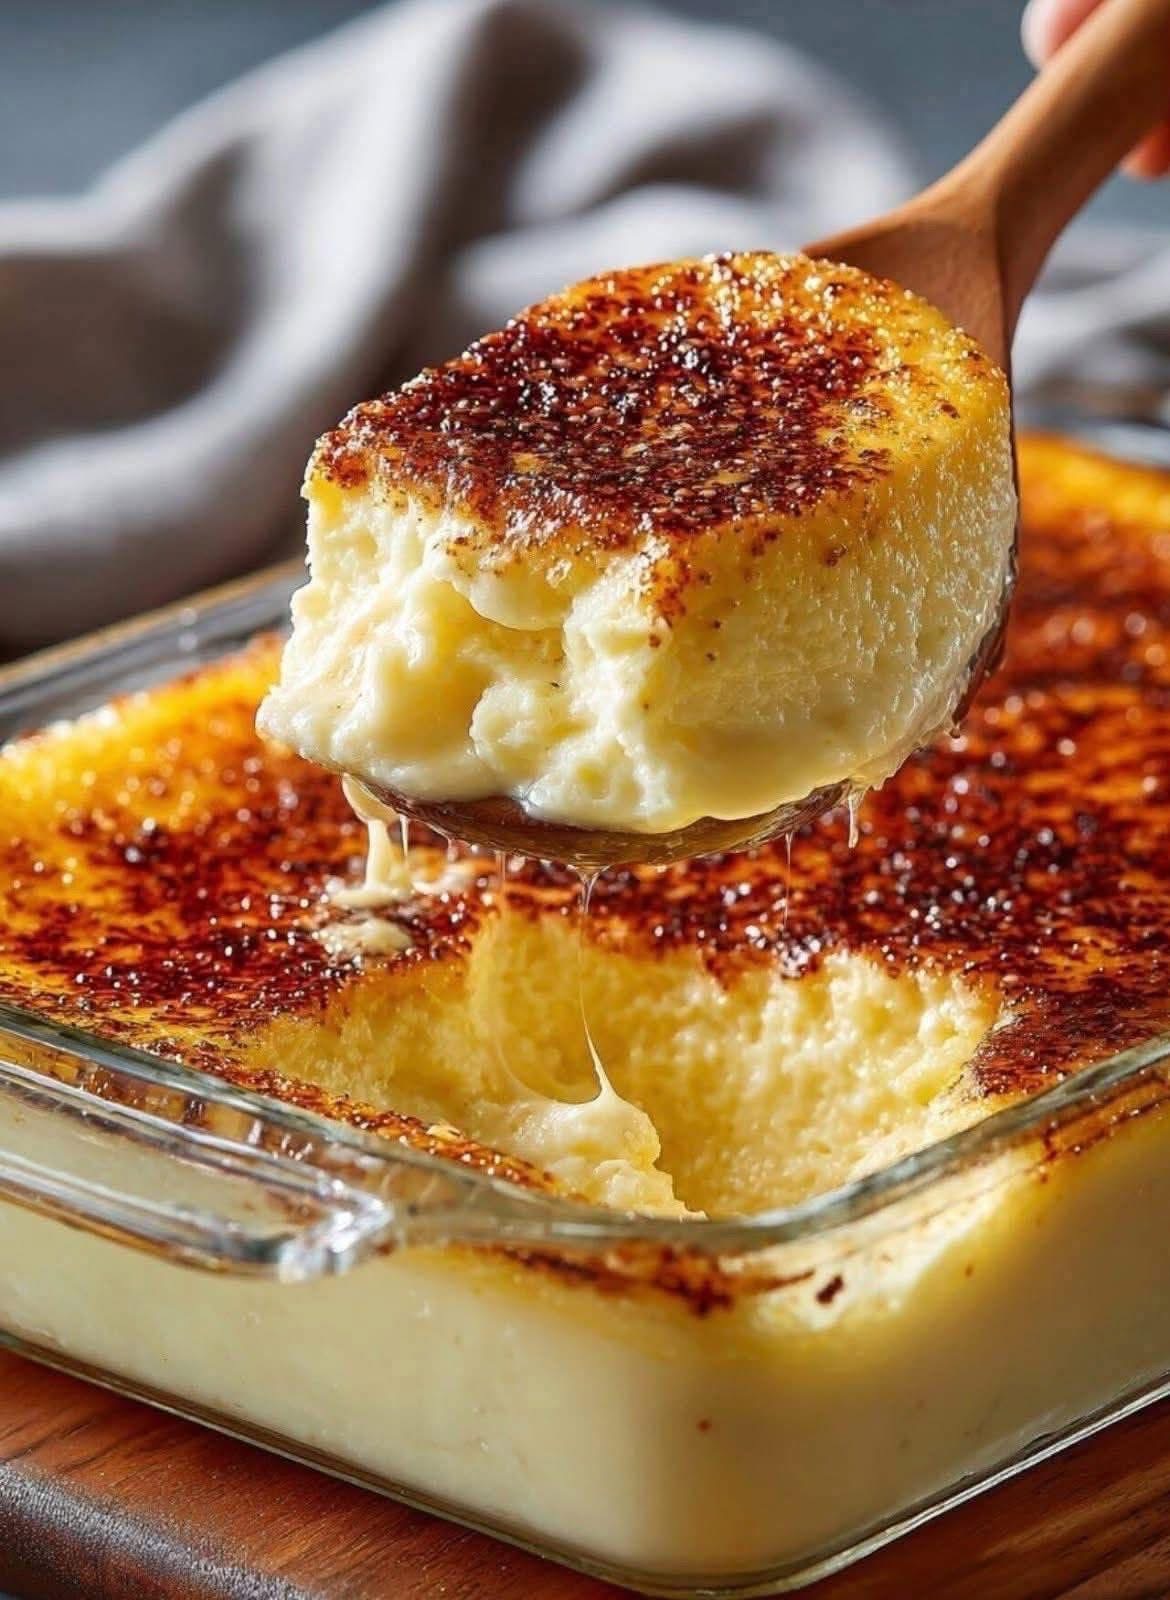
Old-Fashioned Vanilla Baked Custard
This recipe focuses on a rich, creamy texture that isn’t too eggy. Baking the custard in a water bath (bain-marie) is the secret to its smoothness.
Prep time: 10 minutes
Cook time: 40-50 minutes
Servings: 4-6
Ingredients
· 2 cups (480 ml) whole milk (For the creamiest result, do not use skim milk. You can substitute 1 cup of half-and-half for 1 cup of the milk for an even richer custard.)
· 1/4 cup (50 g) granulated sugar (plus a little extra for sprinkling on top, optional)
· 3 large eggs
· 1 1/2 teaspoons pure vanilla extract (this is the star, so use the best quality you have)
· Pinch of salt (to balance the sweetness)
· Freshly grated nutmeg (optional, but highly recommended for a classic touch)
Instructions
- Preheat and Prepare: Preheat your oven to 325°F (160°C) . Place 4-6 ramekins (or a single 1-quart baking dish) inside a large, deep baking pan or roasting dish. Boil a kettle of water.
- Heat the Milk: In a small saucepan, warm the milk over medium heat. You want it hot, but do not let it boil. You’ll see small bubbles forming around the edges of the pan (this is called “scalding”). Remove it from the heat just before it comes to a boil.
- Whisk the Eggs and Sugar: While the milk is heating, crack the eggs into a medium bowl. Add the sugar and the pinch of salt. Whisk gently until the mixture is well combined and the sugar has dissolved. Whisk gently to avoid incorporating too much air, which can create bubbles in the final custard.
- Temper the Eggs: This is the most important step to avoid scrambled eggs.
· Slowly drizzle about 1/2 cup of the hot milk into the egg mixture while whisking constantly. This gently raises the temperature of the eggs.
· Pour the warm egg mixture back into the saucepan with the remaining hot milk, again whisking constantly. - Add Vanilla and Strain: Stir in the vanilla extract. For the silkiest texture, pour the entire mixture through a fine-mesh strainer into a large measuring cup or a bowl with a spout. This will catch any bits of cooked egg that might have formed.
- Fill the Ramekins: Place your ramekins in the baking dish. Carefully pour the custard mixture into the ramekins, dividing it evenly. If you like a “skin” on top, you can lightly sprinkle the top of each custard with a tiny pinch of sugar and a grating of fresh nutmeg now.
- Create the Water Bath (Bain-Marie): Place the baking dish with the ramekins on the oven rack. Carefully pour the hot water from your kettle into the baking dish, filling it until the water comes about halfway up the sides of the ramekins. This insulates the custard and ensures it bakes evenly without curdling.
- Bake: Bake for 40 to 50 minutes. The timing depends on the size of your ramekins. The custard is done when the edges are set but the center still has a slight jiggle (like firm Jell-O). A knife inserted near the edge should come out clean. If you’re using one large dish, it will take closer to 50-60 minutes.
- Cool: Carefully remove the baking dish from the oven. Use tongs or a sturdy spatula to lift the ramekins out of the hot water. Place them on a wire rack to cool to room temperature.
- Serve or Chill: You can serve the custard warm, at room temperature, or chilled. To chill, cover the cooled ramekins with plastic wrap and refrigerate for at least 2 hours.
Tips for Perfect Custard
· Low and Slow is Key: A high oven temperature will cause the eggs to curdle, resulting in a “weepy” or grainy custard. Stick to 325°F (160°C) or lower.
· The Jiggle Test: Don’t rely on a knife coming out completely clean, as the center will continue to cook slightly from its own residual heat after being removed from the oven. A slight wobble in the middle is your goal.
· Straining is Worth It: Even if you’re careful when tempering, a tiny bit of egg can solidify. Straining guarantees a perfectly smooth result.
Enjoy this classic, simple, and delicious dessert