

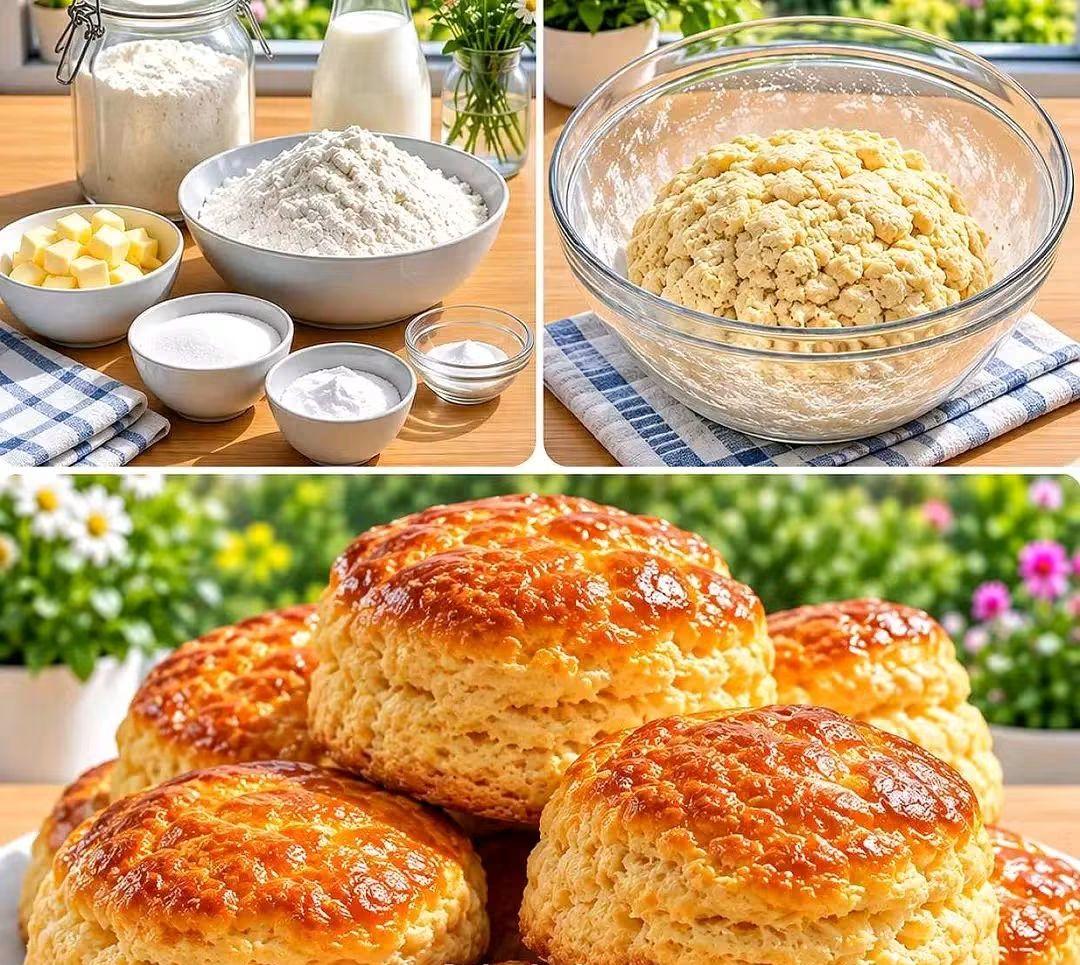
There are few things more quintessentially American than a warm, freshly baked buttermilk biscuit. From the humble breakfast tables of the Deep South to trendy brunch spots in New York City, this quick bread is a staple of American comfort food. A perfect biscuit is a study in contrasts: a rugged, golden-brown exterior that shatters slightly when touched, giving way to a soft, pillowy, and impossibly flaky interior. When done right, they are rich, tangy, and buttery, serving as the perfect vessel for everything from sausage gravy to strawberry jam.
The beauty of this recipe lies in its simplicity. It requires no yeast, no rising time, and no special equipment—just a bowl, a cutter, and a hot oven. Whether you are a seasoned baker or a beginner in the kitchen, mastering the art of the buttermilk biscuit is a rite of passage. Let’s dive into how to create this iconic American classic.
Ingredients
For the Biscuits:
· 2 cups all-purpose flour (plus extra for dusting)
· 1 tablespoon baking powder
· 1/2 teaspoon baking soda
· 1 teaspoon granulated sugar
· 1 teaspoon kosher salt
· 8 tablespoons unsalted butter (1 stick), frozen
· 3/4 cup cold buttermilk (plus 2 tablespoons for brushing)
Optional Ingredients & Substitutions:
· Butter: If you don’t have unsalted butter, salted butter works fine; just reduce the added salt to 1/2 teaspoon.
· Buttermilk: No buttermilk? No problem. Add 1 tablespoon of white vinegar or lemon juice to 3/4 cup of whole milk and let it sit for 5 minutes.
· Flavor Boost: Add 1/2 cup of shredded sharp cheddar cheese and a pinch of garlic powder for savory cheese biscuits.
· Sweet Touch: Add 1/2 cup of fresh blueberries or chocolate chips for a sweet variation.
Preparation Time
· Prep Time: 15 minutes
· Cook Time: 12–15 minutes
· Total Time: 30 minutes
· Servings: Makes 8 to 10 biscuits
Step-by-Step Instructions
1. Preheat and Prep: Preheat your oven to 425°F (220°C). Line a baking sheet with parchment paper or a silicone baking mat.
2. Mix Dry Ingredients: In a large mixing bowl, whisk together the flour, baking powder, baking soda, sugar, and salt.
3. Grate the Butter: Using the large holes of a box grater, grate the frozen butter directly into the dry ingredients. Toss the butter shreds with the flour mixture until they are evenly coated and separated.
4. Add Buttermilk: Pour the cold buttermilk into the mixture. Using a fork or your hands, gently stir until the dough just begins to come together. It will look shaggy and slightly dry.
5. Fold and Laminate: Turn the dough out onto a lightly floured surface. Pat it into a rough rectangle. Fold the dough in half, then pat it down again. Repeat this folding process 3 to 4 times. This creates layers.
6. Cut the Biscuits: Pat the dough to a thickness of about 1 inch. Dip a sharp biscuit cutter (or a glass) in flour and press straight down into the dough. Do not twist the cutter—twisting seals the edges and prevents rising. Place biscuits on the prepared baking sheet, touching slightly if you want soft sides.
7. Bake: Brush the tops of the biscuits with the extra buttermilk. Bake for 12–15 minutes, or until the tops are golden brown.
8. Cool: Remove from the oven and brush with melted butter if desired. Let cool for 5 minutes before serving.
Cooking Tips for the Best Results
· Keep it Cold: The key to flaky biscuits is cold butter and cold buttermilk. The butter creates steam pockets as it melts in the oven, which lifts the dough.
· Don’t Overwork: Handle the dough as little as possible. Overmixing develops gluten, which makes biscuits tough and chewy instead of light and flaky.
· Sharp Cutter: Use a sharp cutter and press straight down. A dull cutter or a twisting motion will pinch the dough layers together.
Common Mistakes to Avoid
· Warm Ingredients: Using room-temperature butter or milk will result in flat, dense biscuits.
· Too Much Flour: Adding too much flour to the dough will dry it out. The dough should be slightly sticky.
· Twisting the Cutter: As mentioned, twisting the cutter seals the edges, preventing the biscuit from rising properly.
Taste, Texture, and Appearance
The finished biscuit boasts a beautiful, golden-brown top with a slightly craggy texture. The aroma is a heady mix of toasted flour and rich, melted butter. When you bite into it, the exterior offers a slight crunch, while the inside is tender, fluffy, and steaming. The flavor is savory and slightly tangy from the buttermilk, with a rich, buttery finish that melts in your mouth.
Storage and Reheating
· Storage: Store leftover biscuits in an airtight container at room temperature for up to 2 days.
· Refrigeration: For longer storage, place them in the fridge for up to 1 week.
· Reheating: To restore their just-baked magic, wrap a biscuit in a damp paper towel and microwave for 10–15 seconds. Alternatively, reheat in a 350°F oven for 5 minutes.
Serving Suggestions
These biscuits are versatile. Serve them warm with a pat of butter and honey for breakfast, or use them as the base for a classic Southern sausage gravy. They are also the perfect accompaniment to fried chicken, a bowl of soup, or a hearty salad. For a real treat, split them open and top with a fried egg and bacon for a breakfast sandwich.
Whether you are serving them at a holiday dinner or a lazy Sunday morning, these buttermilk biscuits are sure to become a beloved family tradition. Enjoy the process, and savor every buttery bite!